Application Guide Application Guide
The LINEMO application screen is supported only in Japanese. Please use the instructions in this guide or the Google Chrome translation to apply.
- ※ Google Chrome translations are not perfect and should be used for reference only.
About This Guide
This guide explains the following topics relating to applying for LINEMO:
- Applying to LINEMO with a New Phone Number
- Using a SIM Card
- Using LINEMO Yourself
- Paying by Credit Card
- Identity Verification with a Residence Card
1. Start the Application Process 1. Start the Application Process
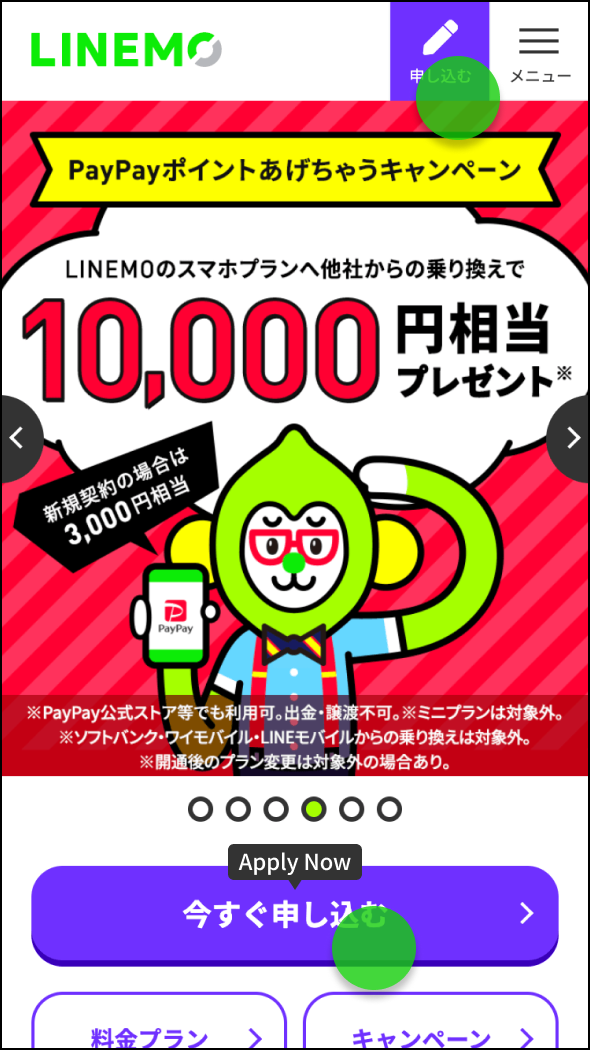
Tap the "Apply" button to proceed to the Application Page.
Please note that some campaigns may require that you apply from a particular campaign web page.
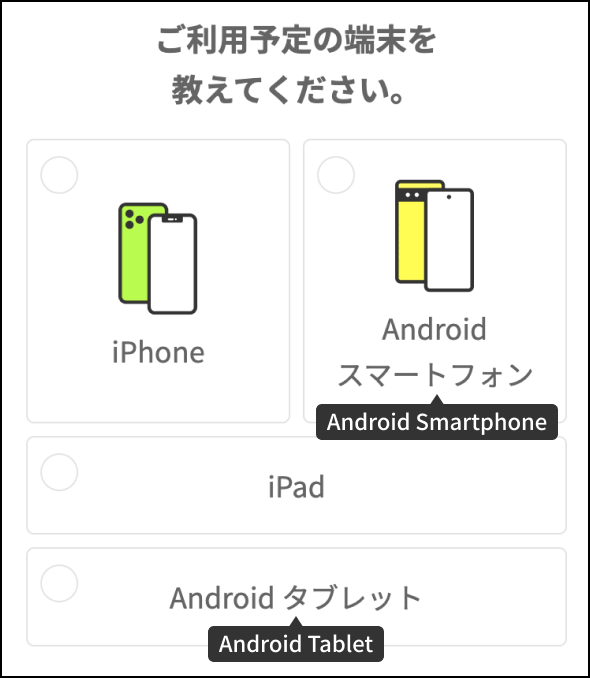
To use a new phone number with LINEMO, select the option on the right.
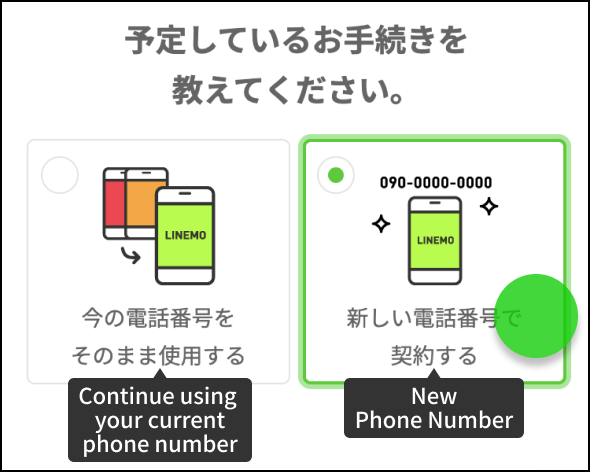
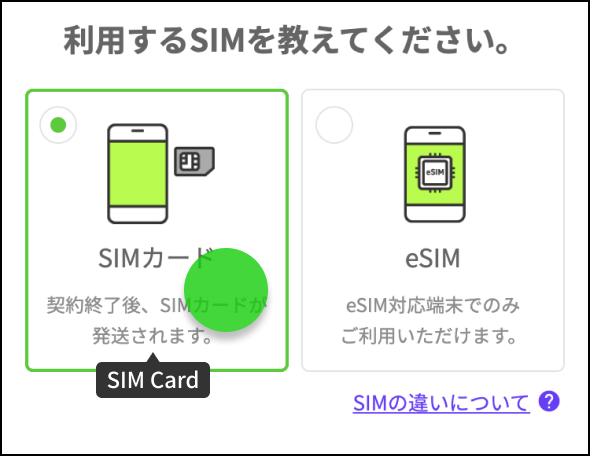
To use a SIM card with LINEMO, select the option on the left.
Select the operating system of the device that you will use with LINEMO.
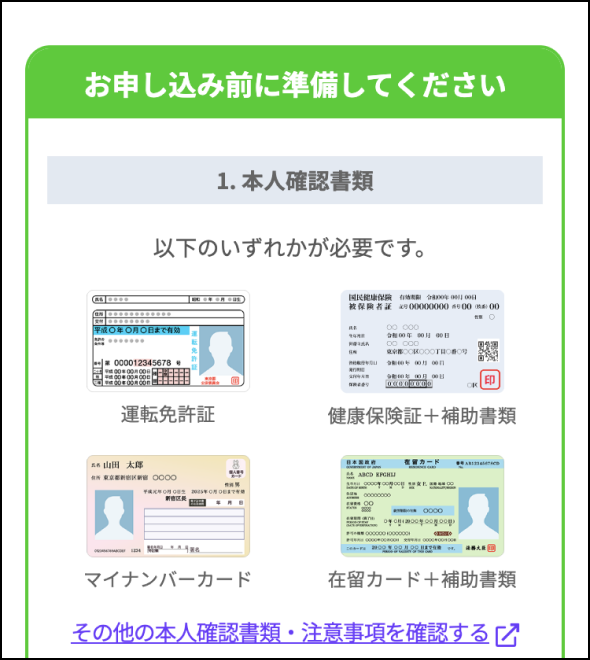
This section explains the steps from application to starting the service, such as the preparations that are required, including identification documents and payment methods.
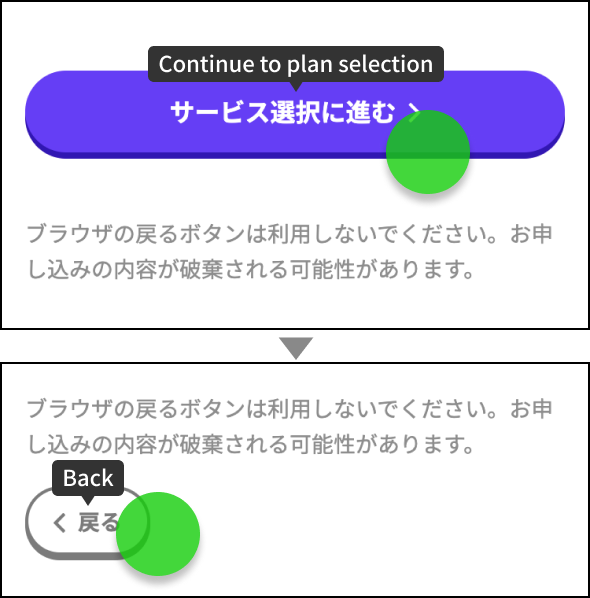
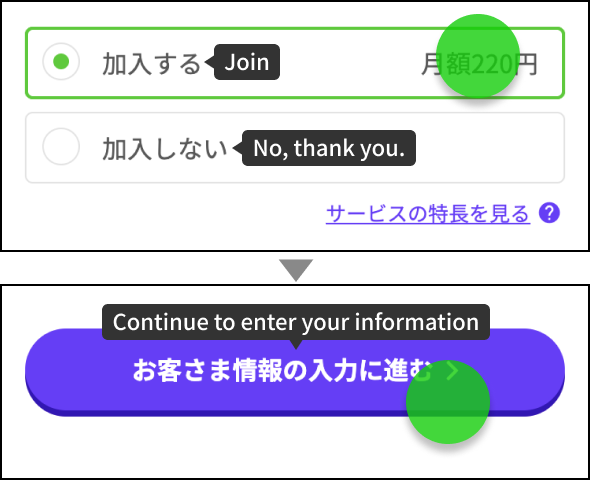
After confirming the information entered, and making sure there are no problems, tap the button to proceed to the next page.
Do not use the Back button of your browser on subsequent pages, as your application information may be lost. Instead, please use the "Back" button at the bottom of the screen.
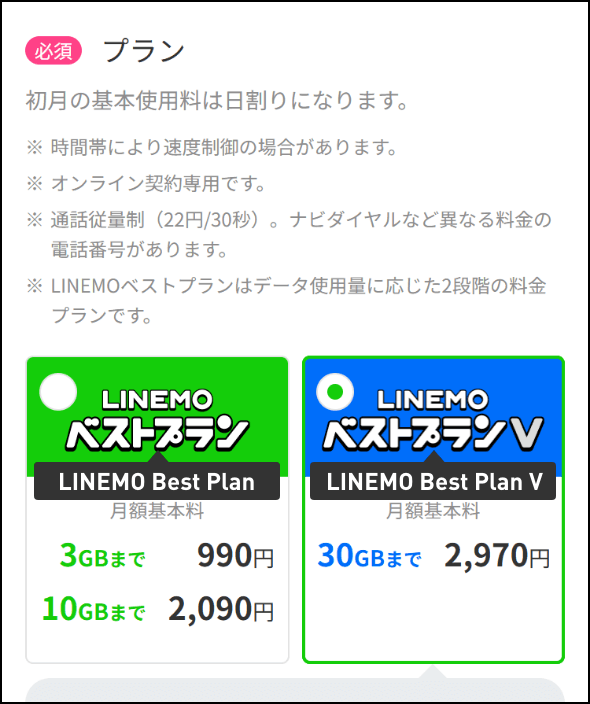
2. Select Plan and Options 2. Select Plan and Options
For the LINEMO Best Plan V (with unlimited 5 min calls included), select the option on the right.
The semi flat-rate call (550 yen/month) option, which allows free voice calls within Japan up to 5 minutes, is available for 0 yen/month for the first year after subscribing.
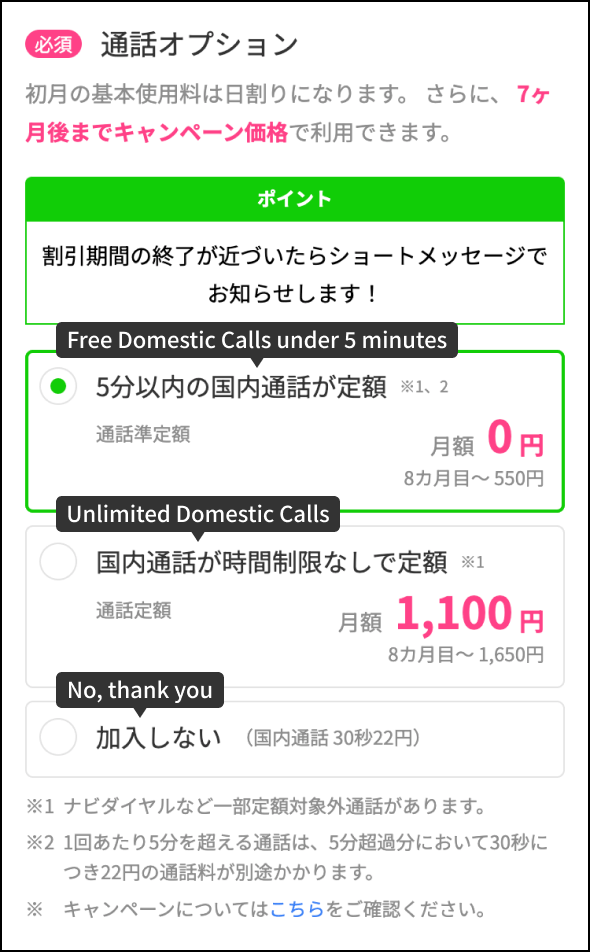
LINEMO also offers other useful options. Select the "Subscribe" button for the option(s) you want to subscribe. Once you have made your selection, tap the button to proceed to the next page.
3. Enter Your
(the Subscriber)
Information
3. Enter Your
(the Subscriber)
Information
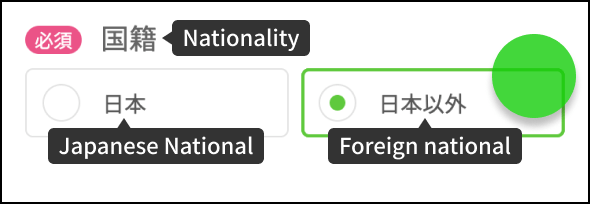
Enter information of the subscriber (you).
If you are not a Japanese Citizen, select the option on the right.
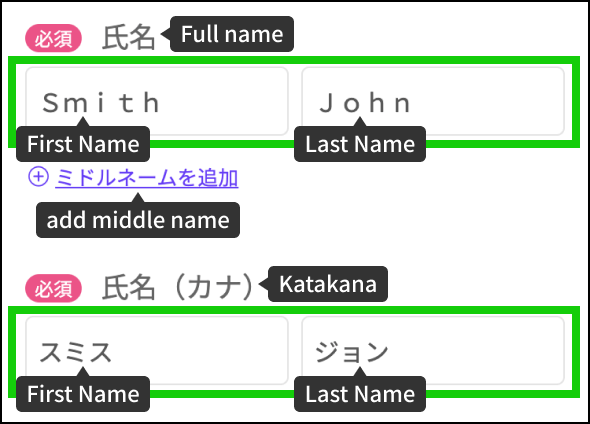
Enter your "Name" and "Furigana (phonetic notation in katakana)".
The name you enter must match the name on your identification documents and the name on your bank account, etc.
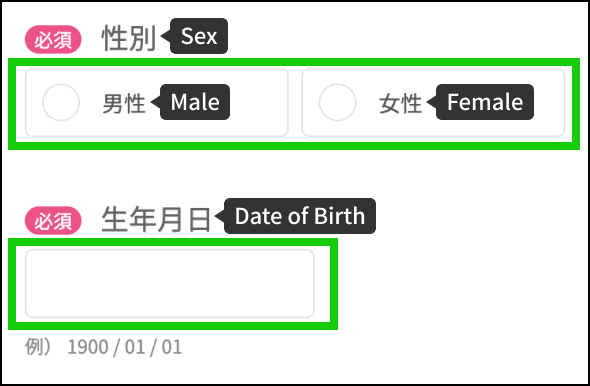
Enter your "Gender" and "Date of Birth".
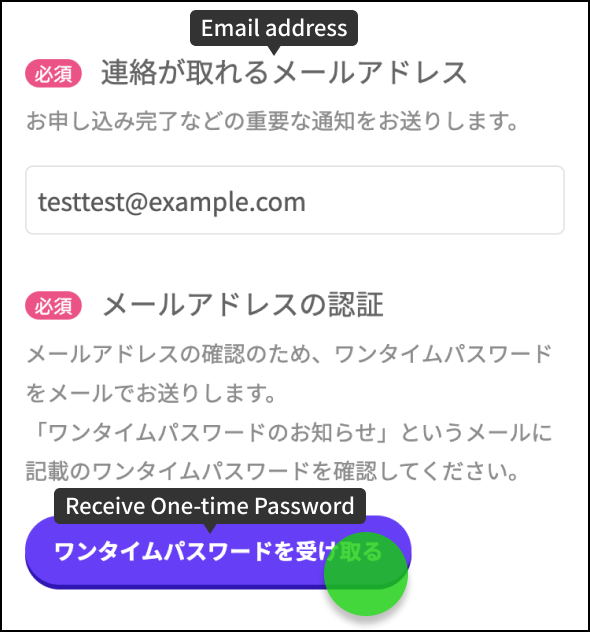
Register and verify an email address where you can be contacted.
After entering your email address, tap the "Receive One-time Password" button.
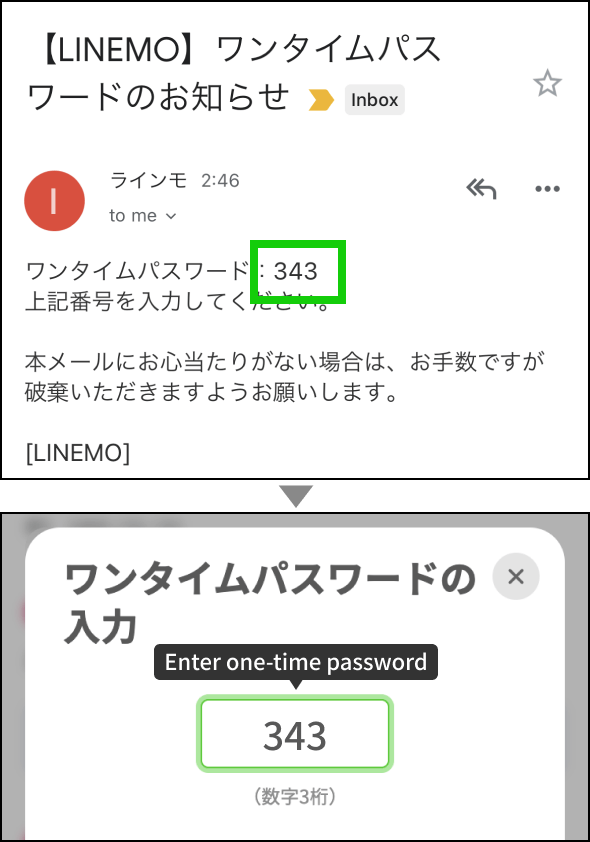
Enter the one-time password that was sent to your registered email address.
(The one-time password is different each time.)
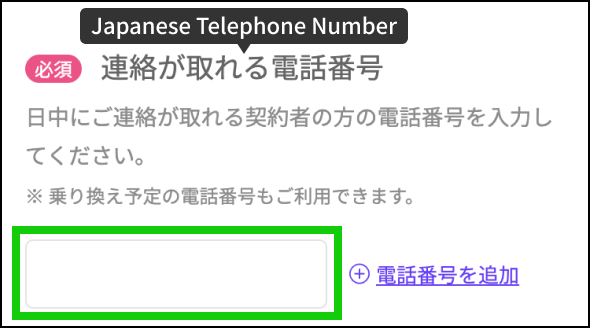
Enter a phone number where you can be reached during the day.
- ※ Please note that this is not to receive or request a new phone number to use with LINEMO.
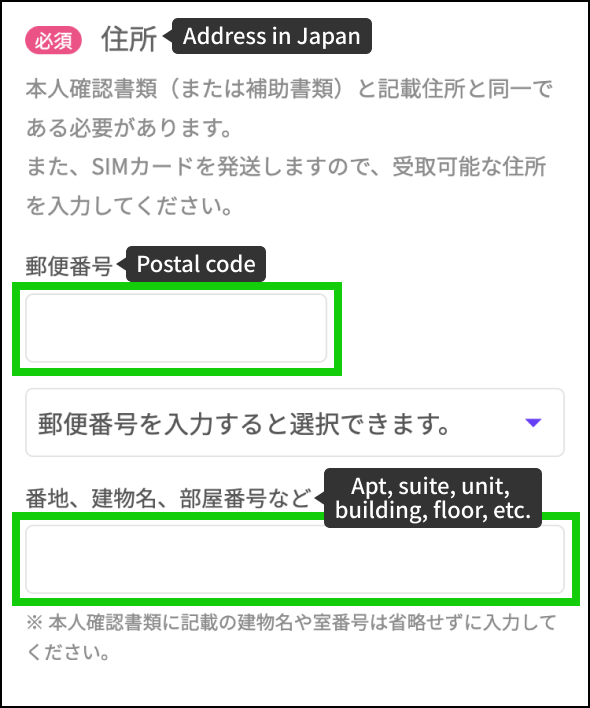
Please enter the same address as the one listed on your identification documents (or supporting documents).
When you enter a postal code, address (municipality, ward, town) options will appear.
We will send you your SIM card, so please enter an address where you can receive it.
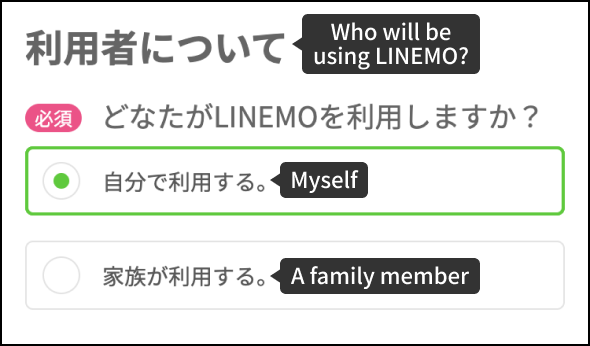
If the actual user of the service is different from you (the subscriber), you must register the user's information here. If you will be using the service yourself, the section does not have to be changed.
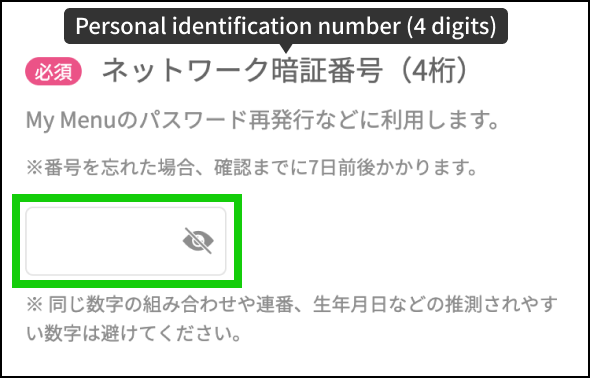
Set your LINEMO PIN (4-digit number). This will be used for logging in to your member page, resetting your password, and other settings.
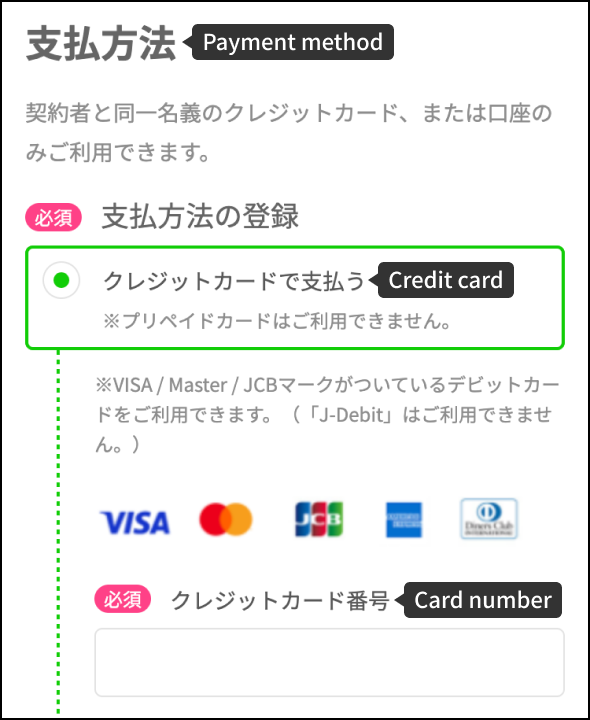
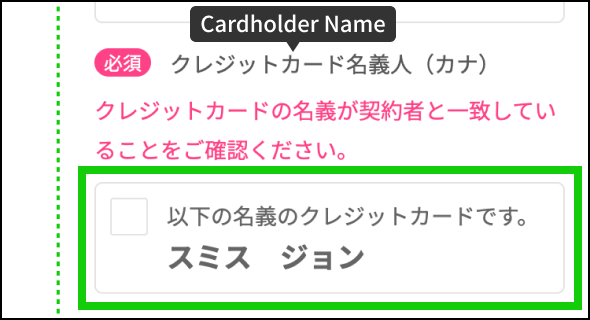
Enter the credit card information to use for LINEMO payments.
In order to confirm that the credit card is in your name, your "Full Name (in katakana)" is displayed as is here.
If the credit card is in the name of the subscriber, even if it is noted differently in the actual credit card, there is noproblem in proceeding with the procedure as long as the subscriber is the card holder.
After completing the form, proceed to the next page.
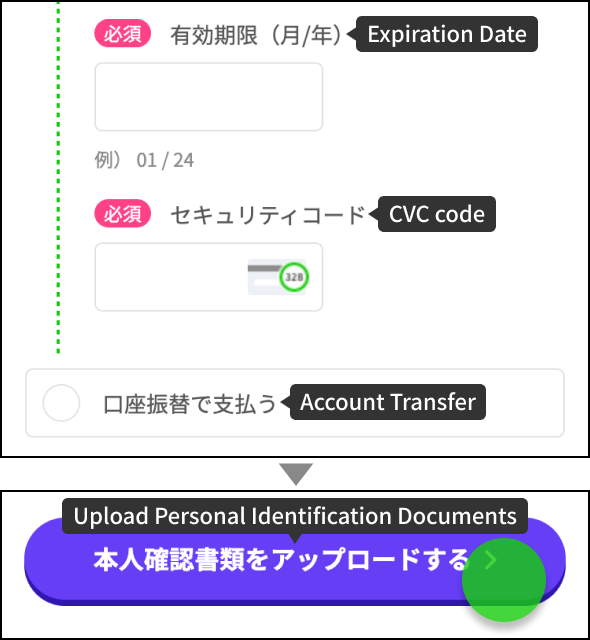
4. Upload Identification Documents 4. Upload Identification Documents
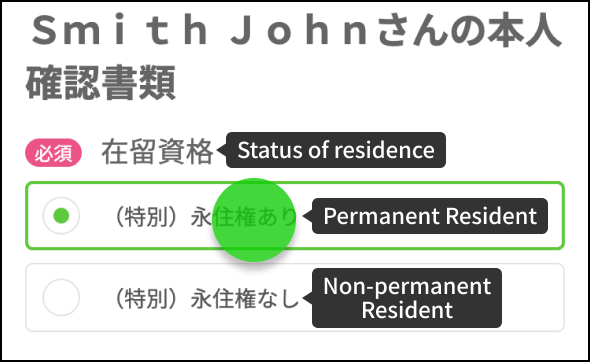
Select whether or not you have (special) permanent residence status.
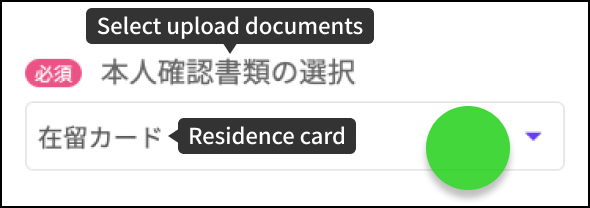
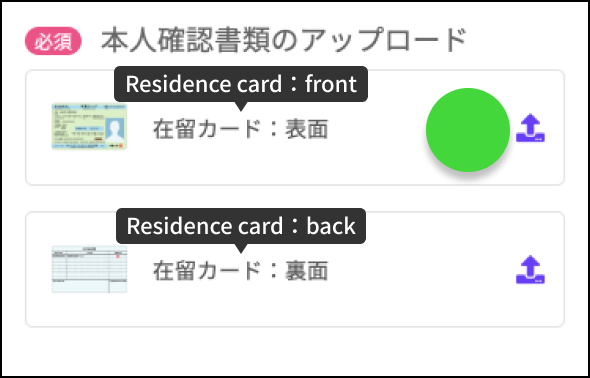
Select the document you want to upload as your personal identification document.
Select the front side of your Residence Card.
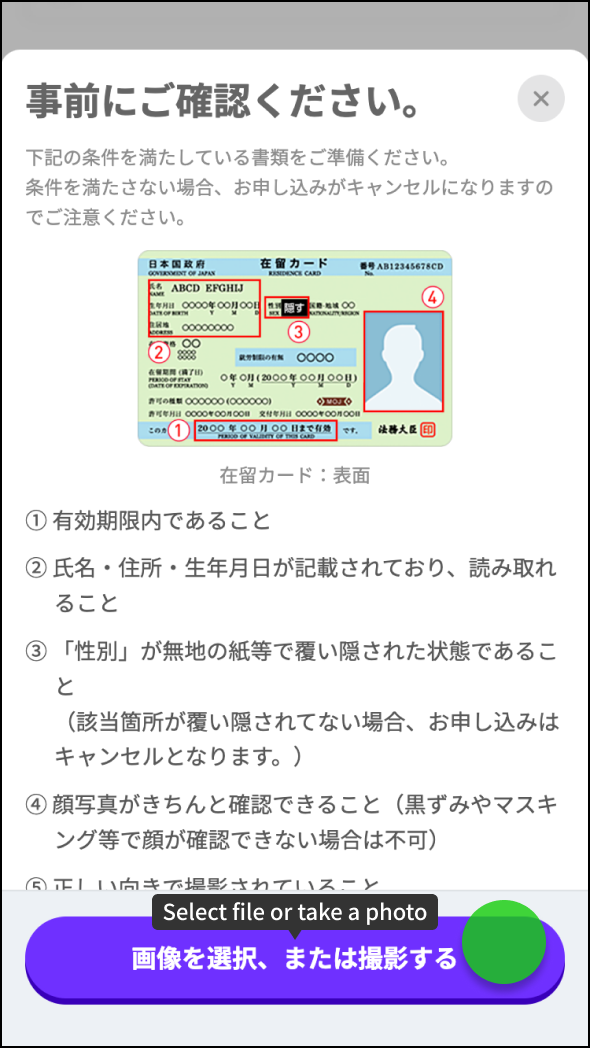
Below are notes regarding the document to upload.
When you press the button below, you will be asked if you want to select a photo or take a photo (using a smartphone only).
Some applicants upload pages other than the photo page of their passport. Please be careful, as you will be required to re-upload your documents.
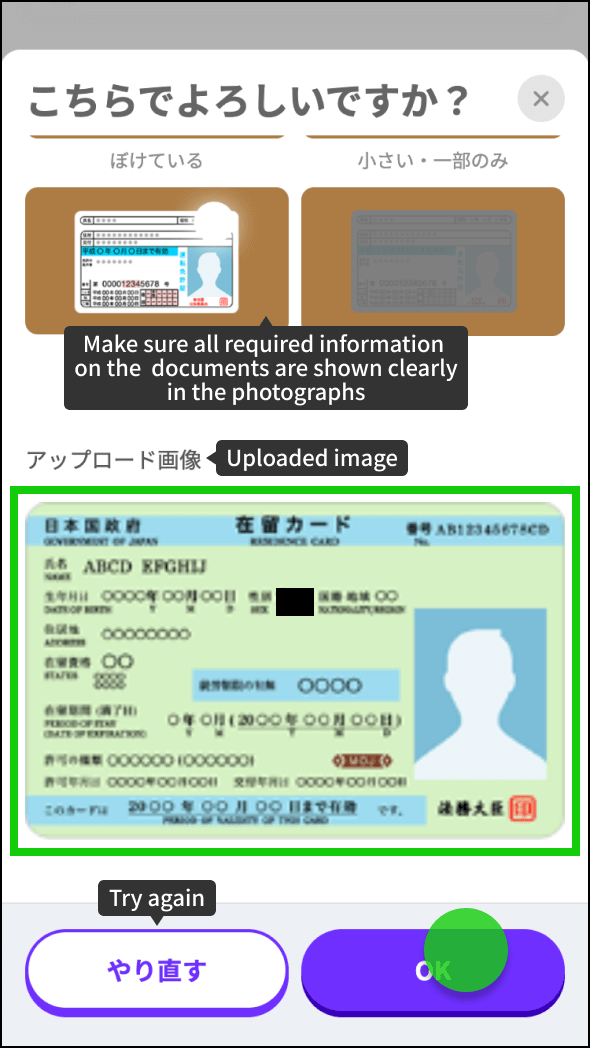
The uploaded image will be displayed. If there is no problem, tap "OK".
Upload the back side of your residence card in the same manner.
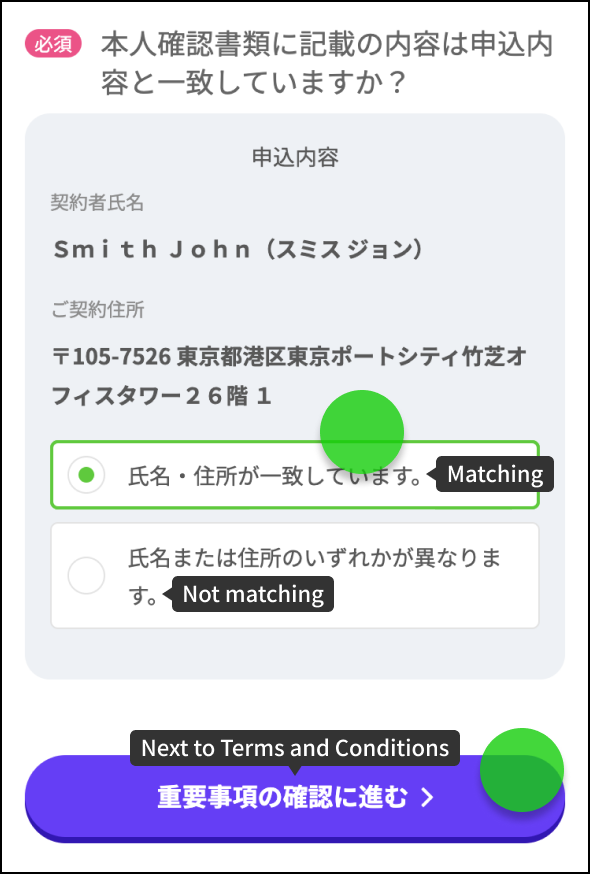
The system will check to see if the name and address on the residence card that you uploaded match the name and address of the subscriber information entered earlier.
If they match, tap "Match" to proceed to the next page.
5. Confirm Important Informations Concerning Your Application 5. Confirm Important Informations Concerning Your Application
This page explains the terms and conditions of LINEMO.
Please review the information, and if you agree, check the boxes marked as "Required".
When all are checked, the button to proceed to the final confirmation screen is enabled.

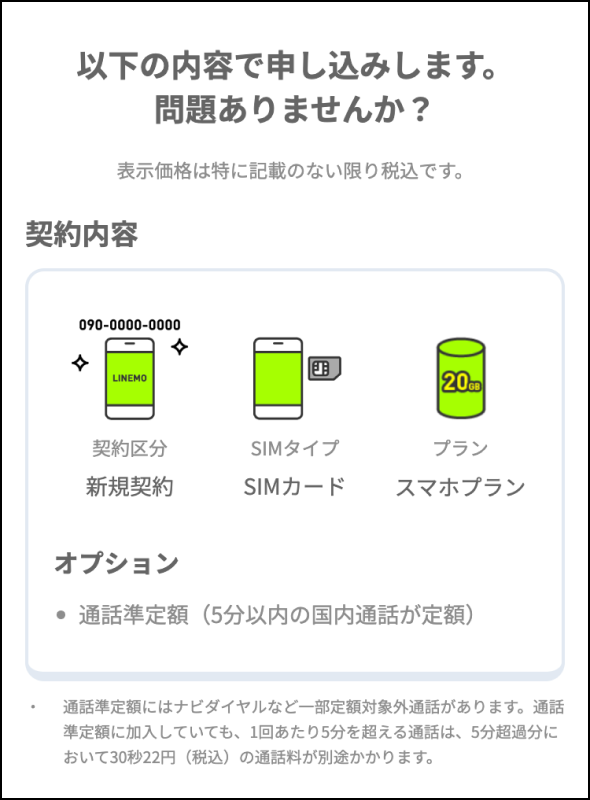
6. Confirm Application Information 6. Confirm Application Information
This is the final confirmation of the application information.
Please confirm the rate plan and contract information are correct.
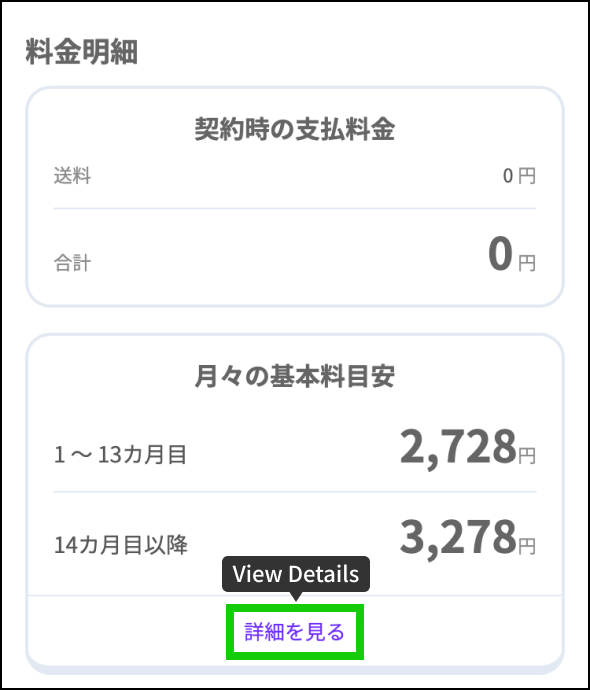
Tap the details of the billing details below to see a guideline of monthly payments.
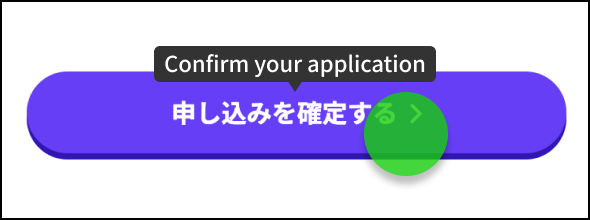
If there is no problem with the information, tap the "Confirm" button to complete the application.
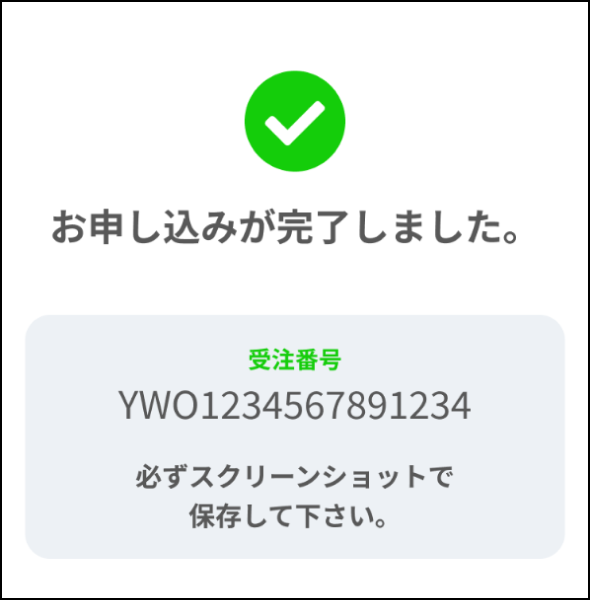
When this screen is displayed, the application process is complete. Please check that you have received an email notifying you that the application has been completed at the email address that you entered.
Post-Application Flow Post-Application Flow
-

STEP1
Please check the email notifying the application completion.
-

STEP2
We will check your application information. If there are no issues, the application will be completed on the same day at the earliest.
- ※ It may take several days to review the application information.
-

STEP3

If the review is completed before 3:00 p.m on the day that the application is submitted, the SIM card will be shipped on the same day at the earliest.
- ※ If the review is completed after 3:00 p.m., it will be shipped the following day.
- ※ When the product has been shipped, you will receive an email notifying that the product has been shipped.
-

STEP4
Follow the Getting Started Guide or the included manual to complete the initial setup and start using the service. (takes approximately 5 minutes)
-

STEP5
In order to be able to check your remaining data and billing amount on LINE, please link your LINE account to the official LINEMO LINE account.